
Anchors and wall bases for ventilated facades
The facade load ends in the anchor, so the anchor must suit the actual wall. This guide covers concrete, brick, hollow blocks and aerated concrete, and the on-site tests.
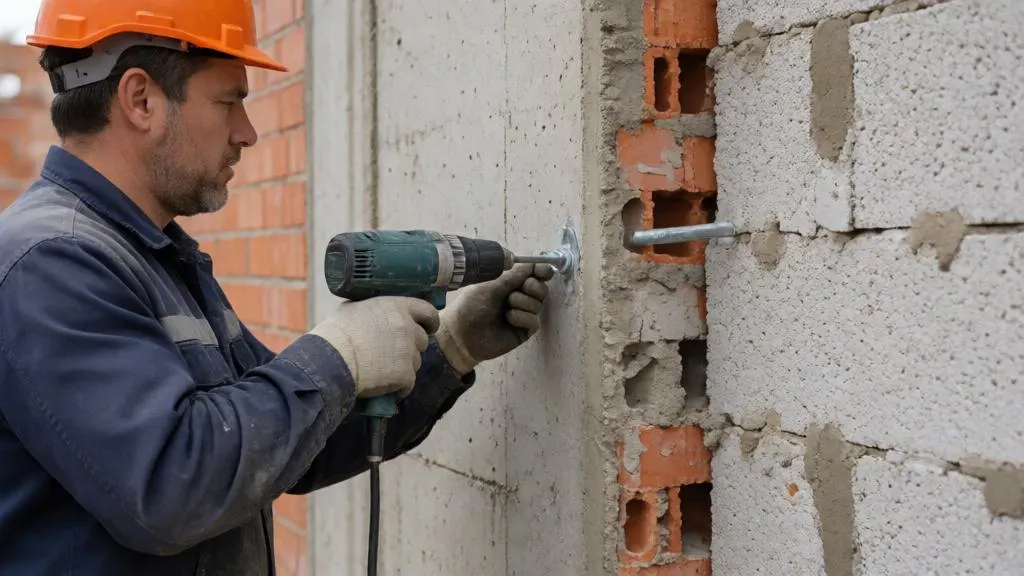
A ventilated facade is only as reliable as its connection to the building. Cladding, rails and brackets can be calculated perfectly, but if the anchor is chosen by habit instead of for the actual wall, the whole system hangs on a few fixings. This guide explains how to match anchors to the wall base, what must be tested on site and what to ask the supplier for.
The load path ends at the anchor
Every load on the facade follows the same chain: cladding, cladding fixings (clips, rivets, hooks), rails, brackets, anchors, the building structure. The system is as strong as its weakest link, so each link needs its own check, not only the rails.
The bracket anchor is the most loaded point. With wind suction included, a single anchor can see a load in the range of a few hundred kilograms, which is why the calculation is done for the real base material and not for a generic "wall". Fixing loads come from the wind and own-weight calculation described in structural calculation of a ventilated facade. In Georgia, wind data comes from the Construction Climatology regulation, Annex 5 to Government of Georgia Resolution No. 71 of 15 January 2014 (Resolution No. 71 on matsne.gov.ge).
Anchor choice by wall base
There is no universal anchor. The table gives the starting point; the final choice follows the survey of the actual wall and the on-site tests.
| Wall base | Typical anchor type | What to watch |
|---|---|---|
| Reinforced concrete (cast in place or precast) | Mechanical expansion or undercut anchors, bonded (chemical) anchors | Edge distance, spacing, cracked-concrete approval, rebar position |
| Solid brick | Mechanical or bonded anchors | Edge distance to joints and corners, brick strength varies between batches |
| Hollow brick, hollow concrete blocks | Bonded anchors with a mesh sleeve | Expansion anchors do not work in voids; webs are thin and crumble |
| Aerated concrete, foam concrete | Anchors approved for cellular concrete, bonded anchors | Low design loads; pull-out tests are mandatory |
| Weak or deteriorated base (old facades, damaged masonry) | Fixing into floor slabs instead of the wall | The load bypasses the wall and goes into the building frame |
Concrete and solid masonry
In concrete the controlling parameters are the concrete class, anchorage depth, spacing and distance from the slab edge. Georgia is a high seismic country (Tbilisi 8 on the MSK-64 scale, Batumi 7), so concrete is assumed to crack in service and the anchor needs to be assessed for cracked concrete. Anchors with a European Technical Assessment (ETA) carry this information in their documents.
In solid brick the edge distances are the usual problem. An anchor near a mortar joint or a corner of the masonry unit gives a much lower resistance than the catalogue value. Check the layout of the brick bond against the bracket grid before the anchors are ordered.
Hollow blocks and aerated concrete
Hollow ceramic blocks and hollow concrete blocks need a separate assessment. A fixing must work in the material it is designed for, not in a generalised "block". In practice this means a bonded anchor with a mesh sleeve that fills the cavity and spreads the load over the webs.
Aerated concrete holds an anchor poorly. Two routes are used: anchors specifically approved for cellular concrete with reduced design loads, or an intermediate-floor scheme in which the brackets are fixed to the slabs and the wall carries almost nothing. The second route changes the subframe layout (vertical rails span from slab to slab), so it must be chosen at the design stage, not on site.
Old walls and reconstruction
An existing facade is not a reliable base until it has been surveyed. Cracks, weathering and hidden voids change the anchor calculation. On reconstruction projects the old wall almost never matches the properties of new concrete or brick, so the anchor group is recalculated from the survey results. Plaster that sounds hollow when tapped is removed or bypassed.
Wall unevenness of 100-150 mm can normally be absorbed by adjustment of the brackets. There is no need to level the wall with plaster. If the deviation is larger, the bracket projection and the insulation thickness change (see facade thickness).
On-site pull-out tests
The real wall can differ from the design assumption several times over. That is why a ventilated facade on a weak or unknown base is not signed off without pull-out tests on site. Tests are carried out on the actual anchor type, at the actual embedment depth, in the actual material, in several zones of the facade.
- Define the zones. Different floors, different masonry, corners, parapet zone, ground-floor walls.
- Install trial anchors exactly as the installer will: same drill bit, same hole cleaning, same embedment.
- Load each anchor to the test value, which is the design load multiplied by a safety margin set in the test programme.
- Record the result in a test report with location, material, anchor type, load and failure mode.
- Adjust the design. If the wall crumbles, move to bonded anchors, increase depth or number of points, or fix to the floor slabs.
The test report is a document for the technical supervisor and the design reviewer. It goes into the project file next to the structural calculation. All of this is decided before installation starts, not after the first storm.
What Georgia requires and what it does not
There is no Georgian national standard for ventilated facade anchors. EN 1992-4 (anchors in concrete) is not a mandatory document in Georgia. The legal hook is the construction products regulation, Government of Georgia Resolution No. 476 of 1 October 2018, which introduces the declaration of performance (DoP) and marking and recognises a European Technical Assessment as a basis for a product (Resolution No. 476 on matsne.gov.ge). See construction products under Resolution No. 476 for the details.
In practice the designer treats the anchor ETA and the supplier's DoP as the product document, and justifies the design with European methods (EN 1992-4 and EAD for the anchor type), agreed with the design reviewer in advance. The status of the Eurocodes is covered in Eurocodes in Georgia.
Checklist for the anchor package
- Wall survey: material, strength, thickness, state of finishes, deviation from vertical.
- Anchor type per wall type, with ETA or equivalent approval and DoP.
- Embedment depth, edge distance and spacing shown on the node drawing.
- Pull-out test programme and test reports for weak or unknown bases.
- Thermal break pad between bracket and wall (see brackets) and galvanic separation where dissimilar metals meet.
- Installation instruction: hole cleaning, curing time of bonded anchors, torque values.
- Seismic check of the anchor connection, because the facade is a non-structural element (see seismic design).
Typical mistakes
- Expansion anchors in hollow blocks.
- Catalogue values used without reducing for edge distance or cracked concrete.
- Same anchor on every wall of a building that has concrete, masonry and aerated concrete parts.
- No pull-out test on a base that was never surveyed.
- Anchors installed in dirty or wet holes, so the bonded anchor never reaches its rated load.